
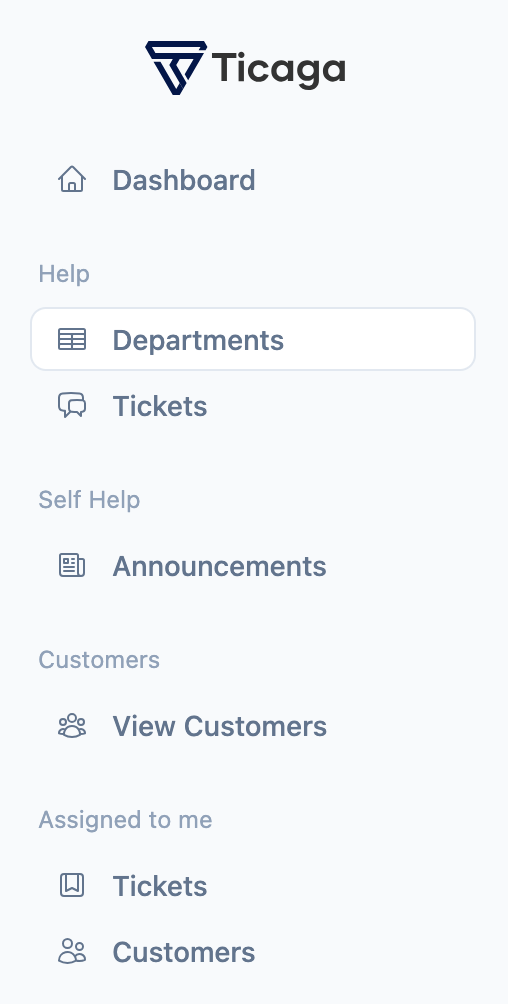
Firstly you want to select Departments on the left hand navigation.
You will see this page, we've already created a Sales department. In this tutorial we'll be creating the support department.
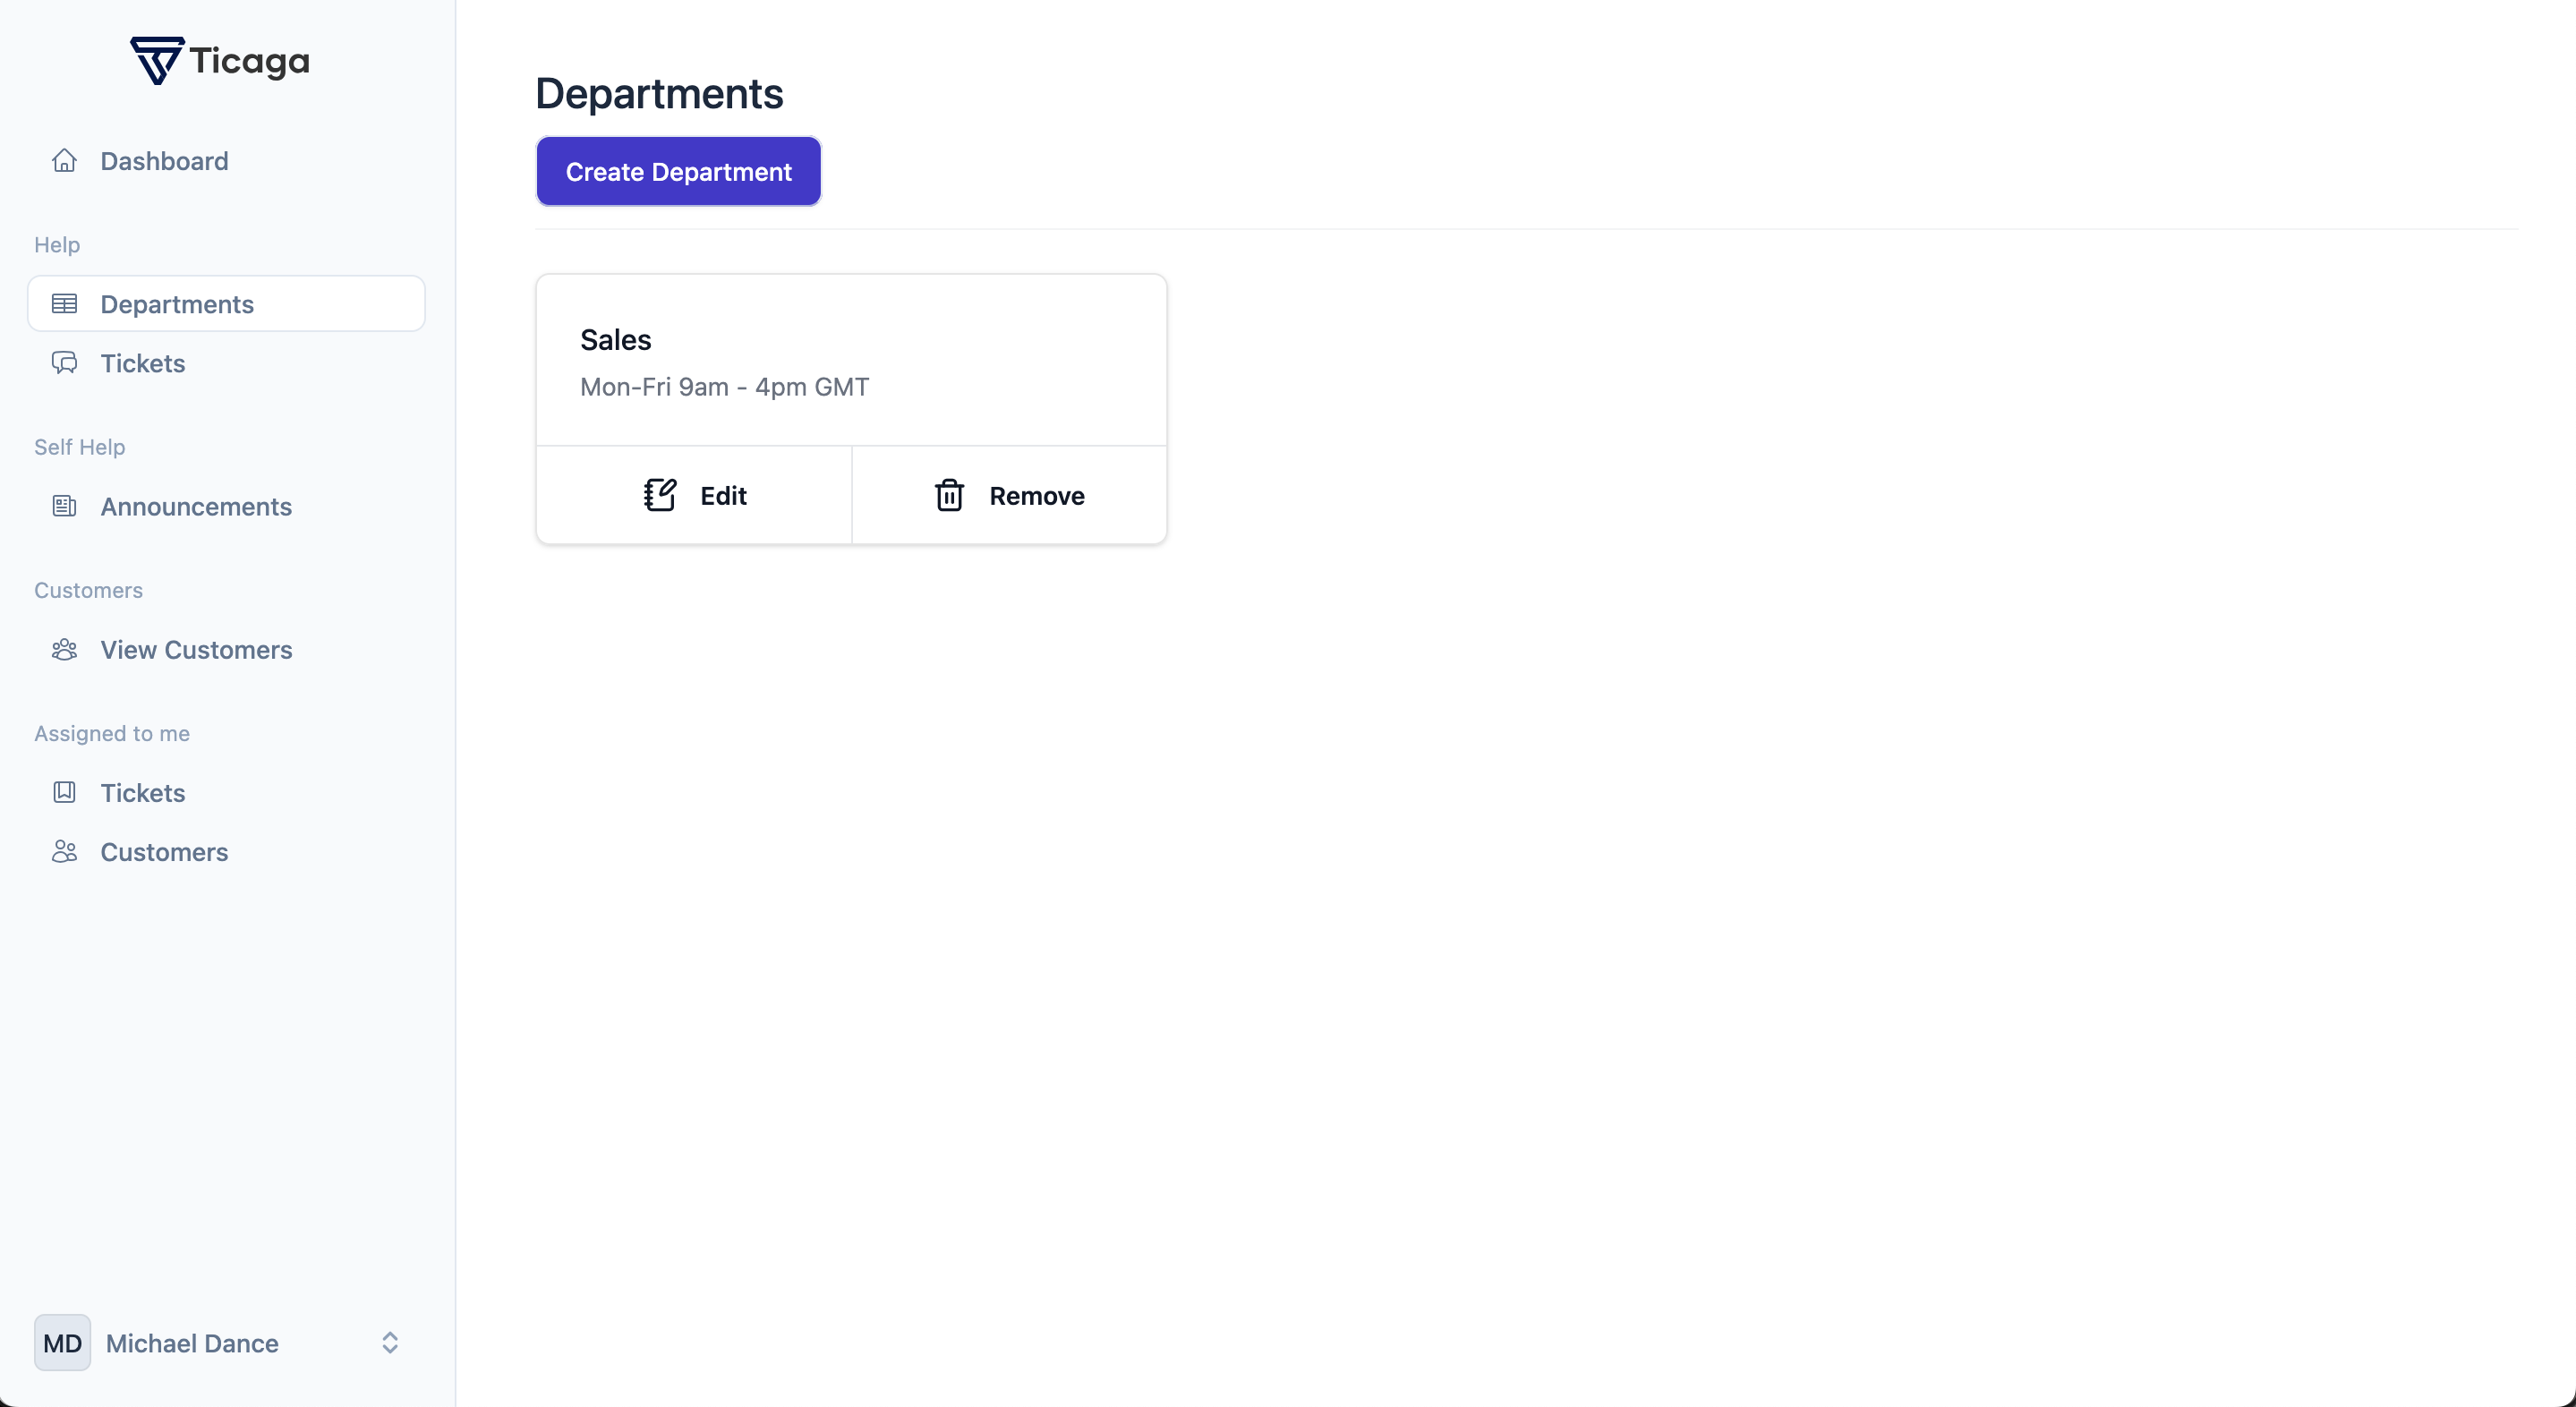
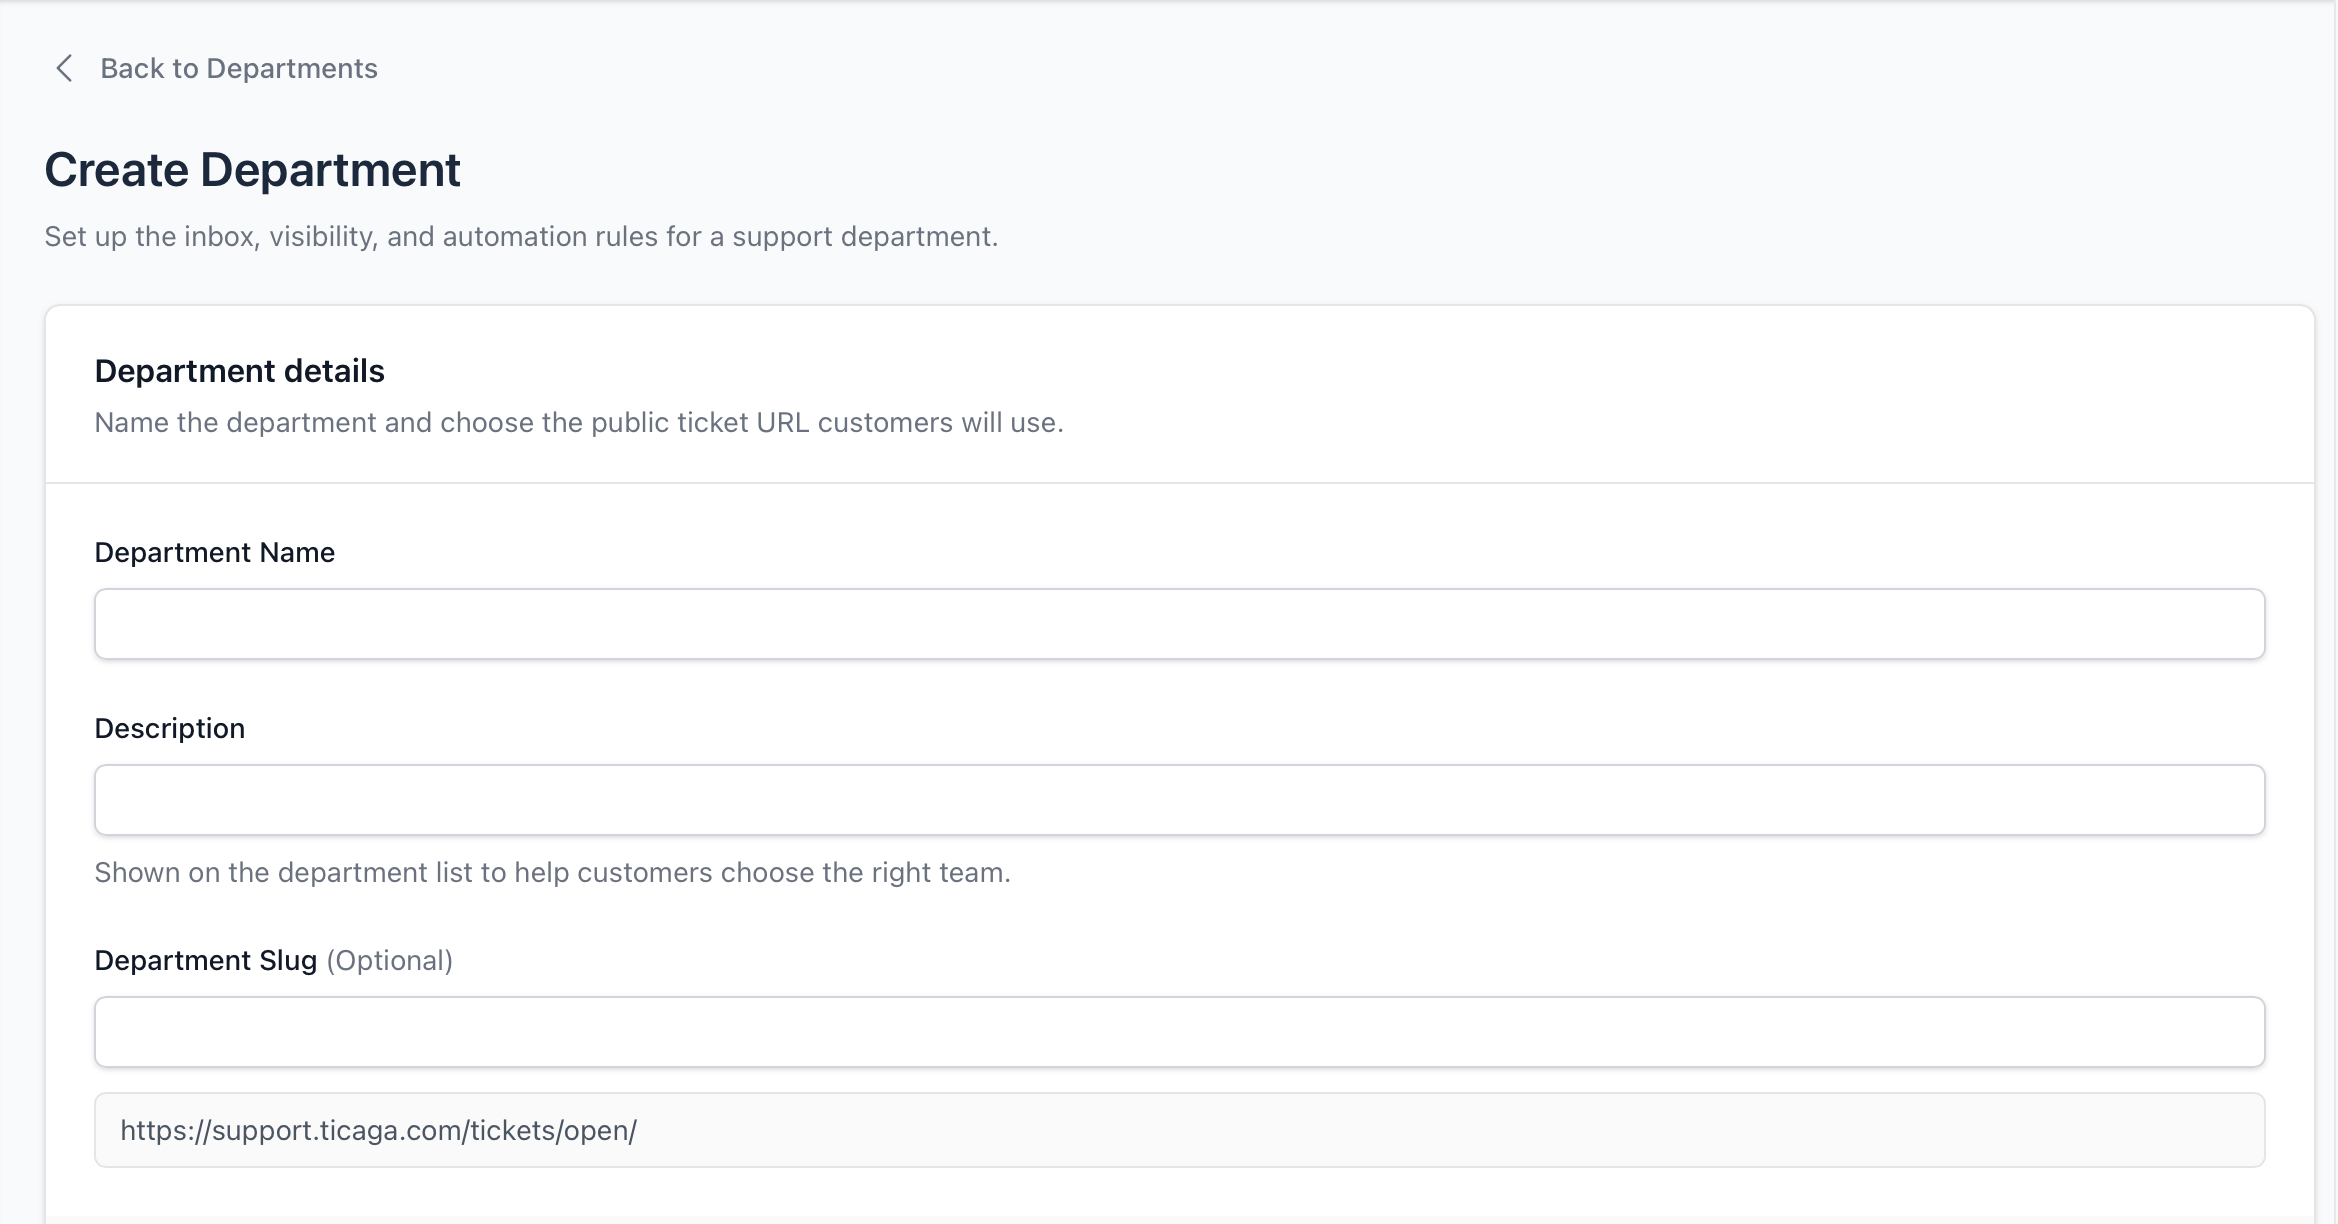
Now you can click on Create department button, to start creating your department.
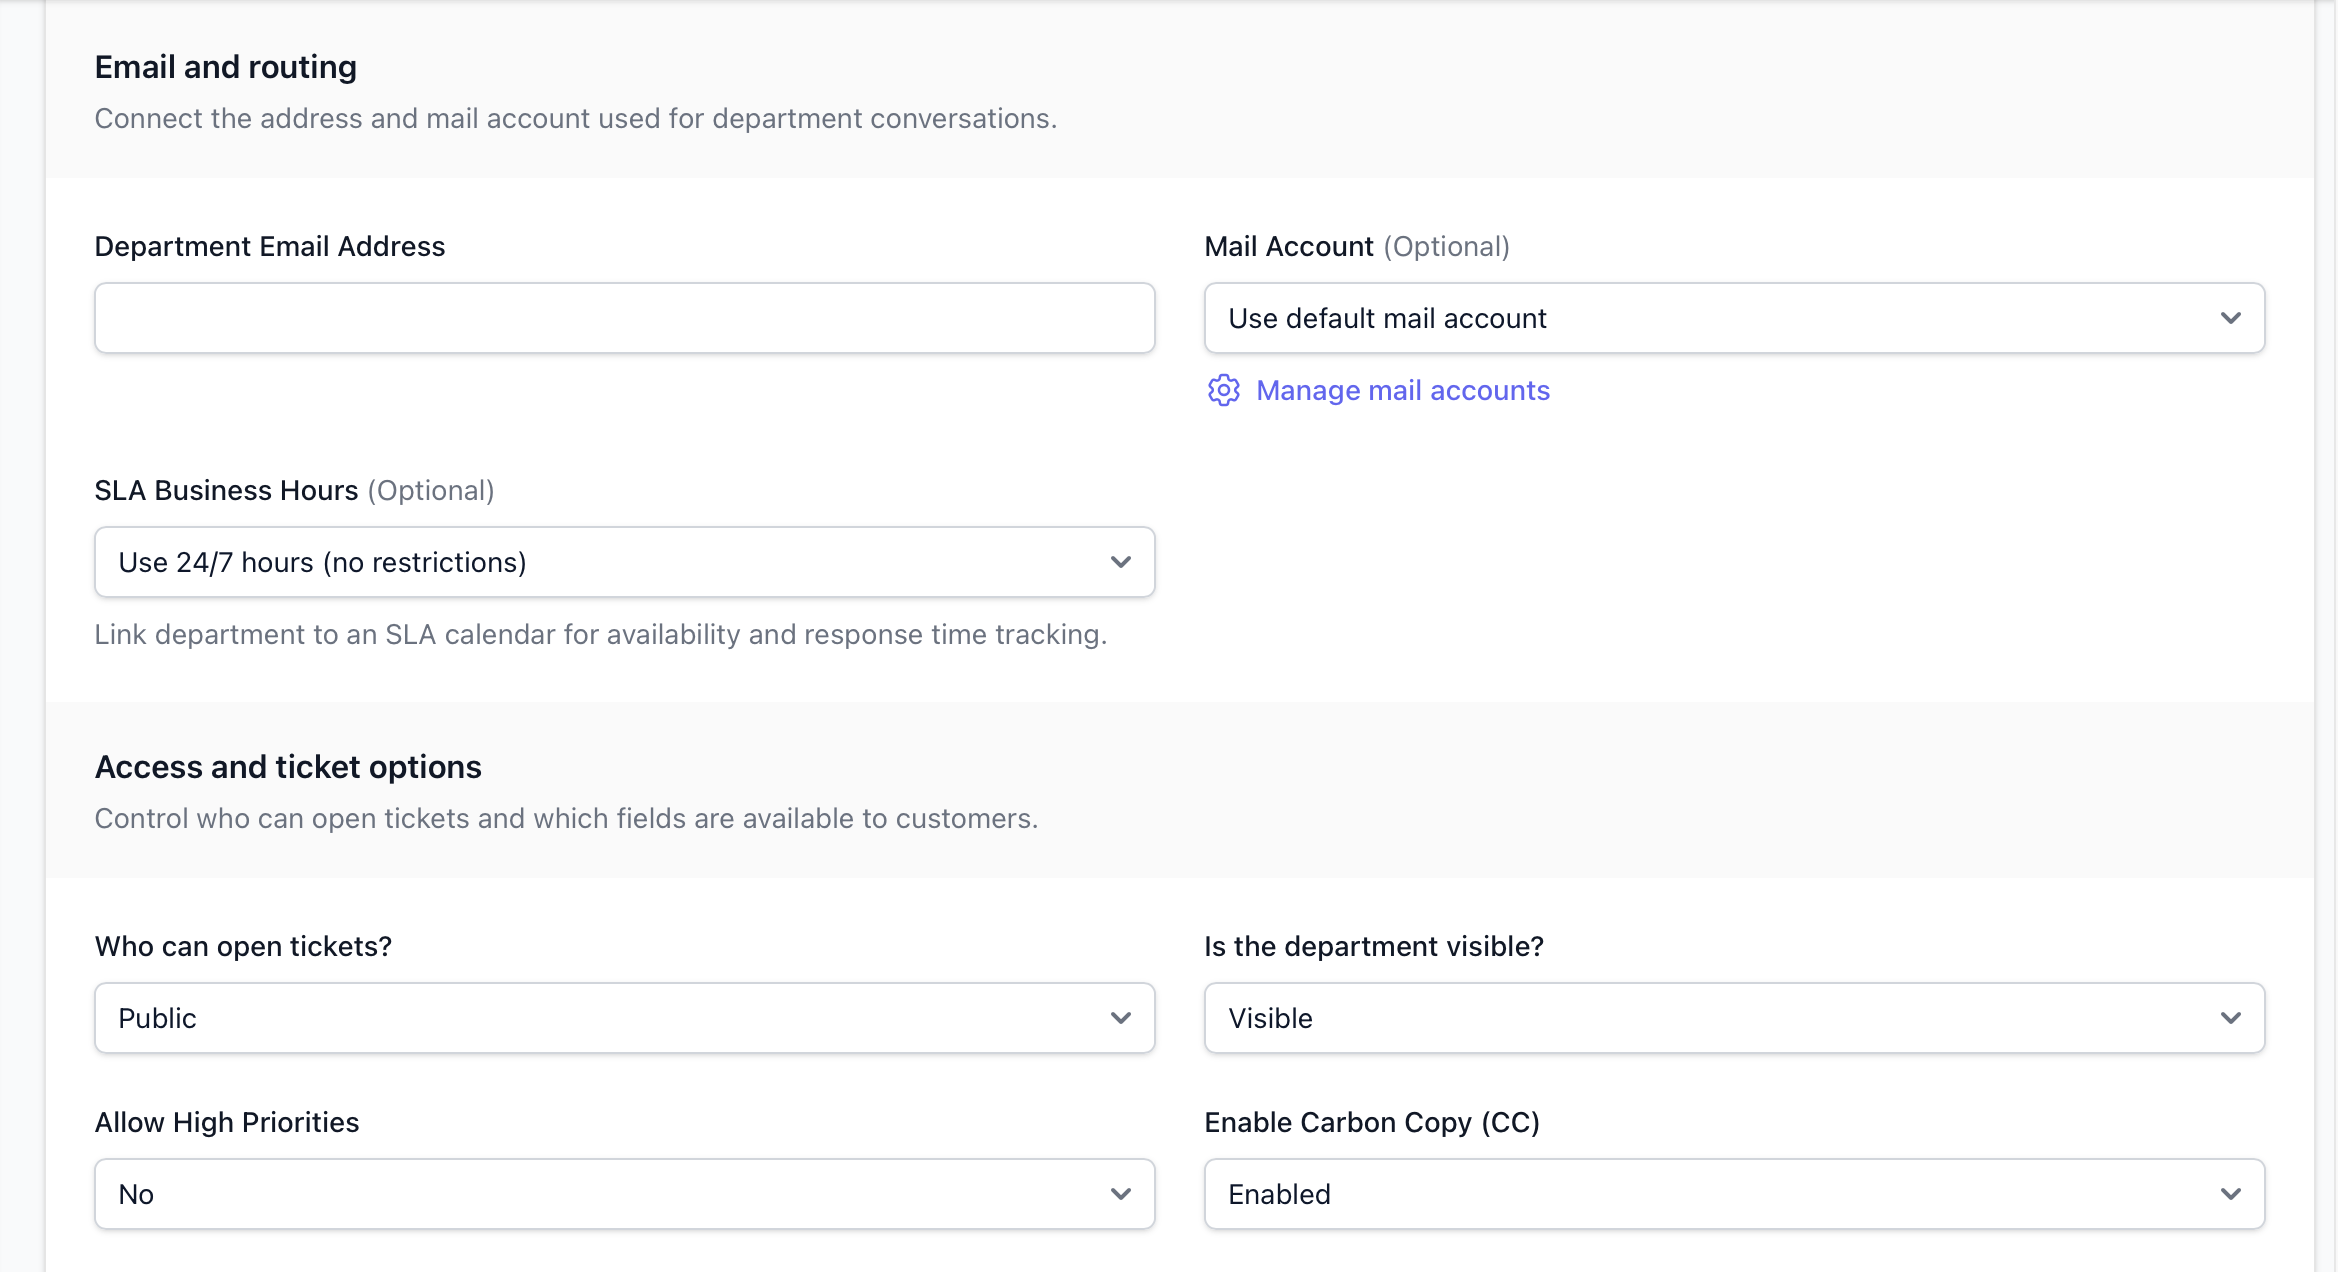
Allow High Priority: Yes or No, if you select Yes, then your customers or guests can open a ticket with a Low, Medium, High or Emergency, or any other priorities you create in the Enum, otherwise it's just Low, Medium or any other priorities you've created which aren't "High Priority".
Who can open tickets: This setting sets whether it's
Is the department visible: Is the department disabled? Yes means no-one can access it. No means anyone can access it depending on the "Who can open tickets" setting above.
After you've clicked create, you will be able to see and use the department.

Author
Michael Dance
Senior Management
My name is Michael and I'm the Owner and founder of Ticaga Ltd.
Feedback loop
Be the first to rate this guide.
Article snapshot
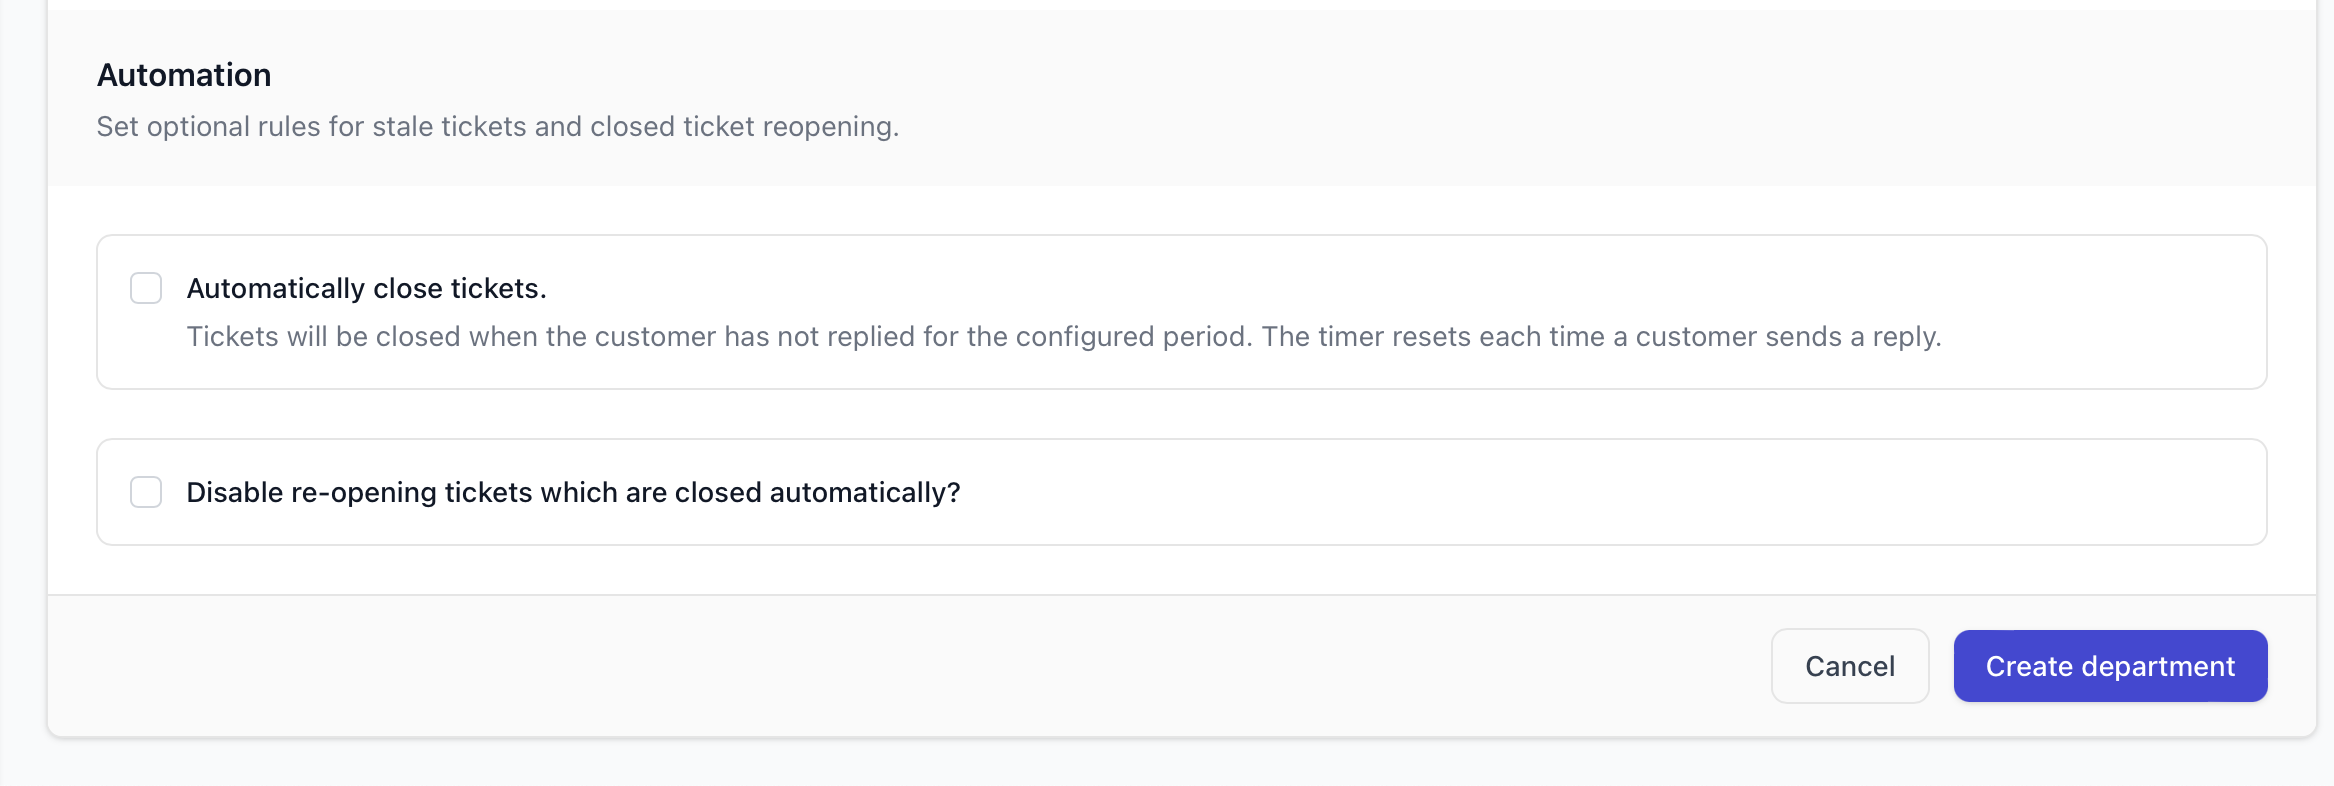
You can automatically close tickets that have been waiting for a customer response for more than two days by configuring the relevant department. O...
This guide explains how to deploy a new Ticaga installation with Docker Compose. The supplied deployment runs the web application, background worker,...
No, you do not need to purchase the support add-on. It is only required if you would like assistance from our team during our opening hours. You can p...